Best Painting Masking Tape for Clean Lines and Easy Removal?
Achieving clean lines in painting projects is essential for a professional finish. Painting Masking Tape plays a crucial role in this process. It provides an effective barrier, preventing paint from bleeding onto adjacent surfaces. Choosing the right tape can make all the difference.
Quality is key. Not all Painting Masking Tape performs equally well. Some may leave residues or pull off paint when removed. It's vital to test different brands before committing. The right tape should be easy to apply and remove without damage.
Consider your project needs. Factors like surface type and paint type can influence your choice. It’s easy to assume all masking tapes are the same, but that can lead to disappointment. Observing the details of each option helps create that perfect edge. With the right preparation and tools, you'll achieve a polished result every time.
Understanding the Importance of Masking Tape in Painting Projects
Masking tape is essential for creating clean lines in painting projects. It keeps colors separate and prevents bleeding. When applied correctly, the result is professional-looking finishes. Even small mistakes in tape application can lead to frustrating results. A straight edge can easily be lost, or paint can seep underneath. Therefore, understanding how to use masking tape is vital.
Tips: Always clean the surface before applying tape. Dust and grease can disrupt adhesion. Use a smooth, steady hand when pressing the tape down. Small wrinkles can cause paint to seep through, ruining your hard work. Consider testing a small area first to check for any unexpected issues.
Choosing the right type of masking tape is important. Some tapes are designed for delicate surfaces, while others work best on rough textures. A wrong choice can lead to tearing or damaging the surface when removed. The removal process itself is another point of consideration. If the tape is left on too long, it may become difficult to peel off cleanly, which can mar the paint job. Always read the instructions carefully for the best results.
Types of Painting Masking Tapes: Which One is Right for You?
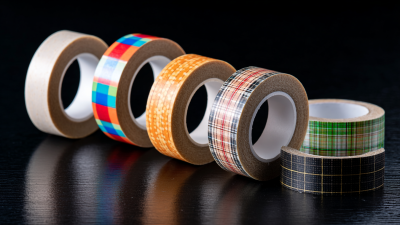
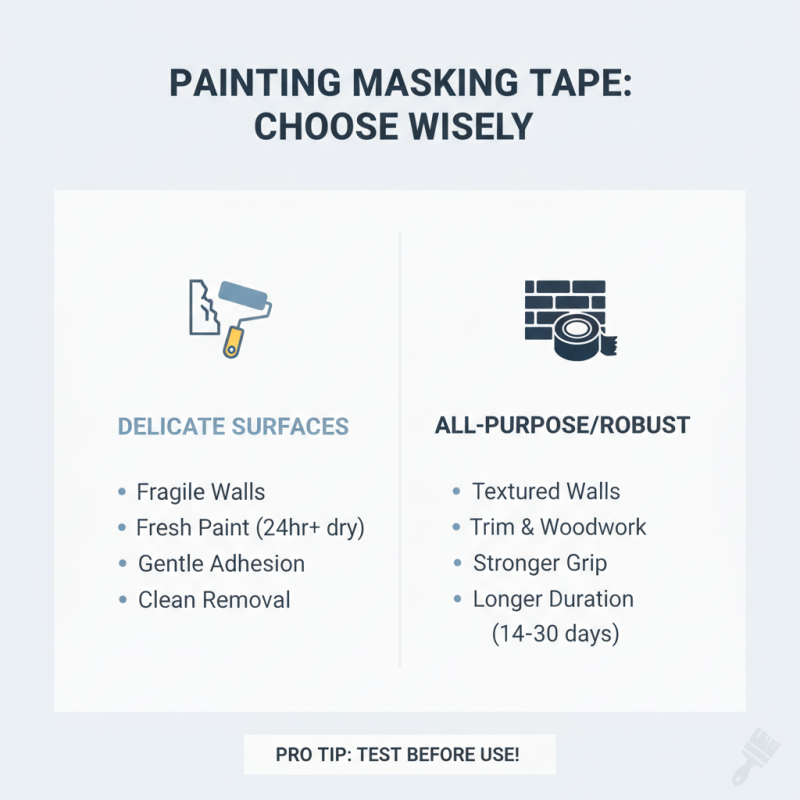
Choosing the right type of painting masking tape can make all the difference in achieving clean lines. Different tapes serve distinct purposes. For instance, some tapes are designed for delicate surfaces, while others are more robust. Delicate tapes are great for fragile walls or freshly painted areas. They help to avoid damage during removal. However, they might not adhere well to textured surfaces.
On the other hand, standard tape is versatile and suitable for most surfaces. This type is reliable but might leave residue if not removed promptly. Strong adhesive tapes offer durability but can pull paint when removed. It's crucial to consider your project's specifics before deciding. Testing a small section can reveal potential issues.
It’s easy to assume that all tapes work the same. However, that assumption may lead to frustration. Over time, you'll learn the nuances of different tapes. Adjusting your choice based on the surface and paint type is vital. The right tape can lead to a professional finish. The wrong one can leave you with uneven edges and a messy look.
Key Features to Look for in Quality Masking Tape
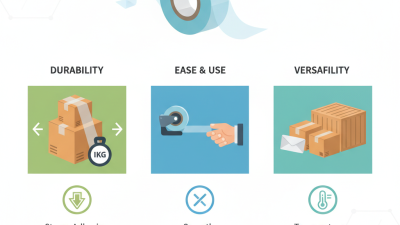
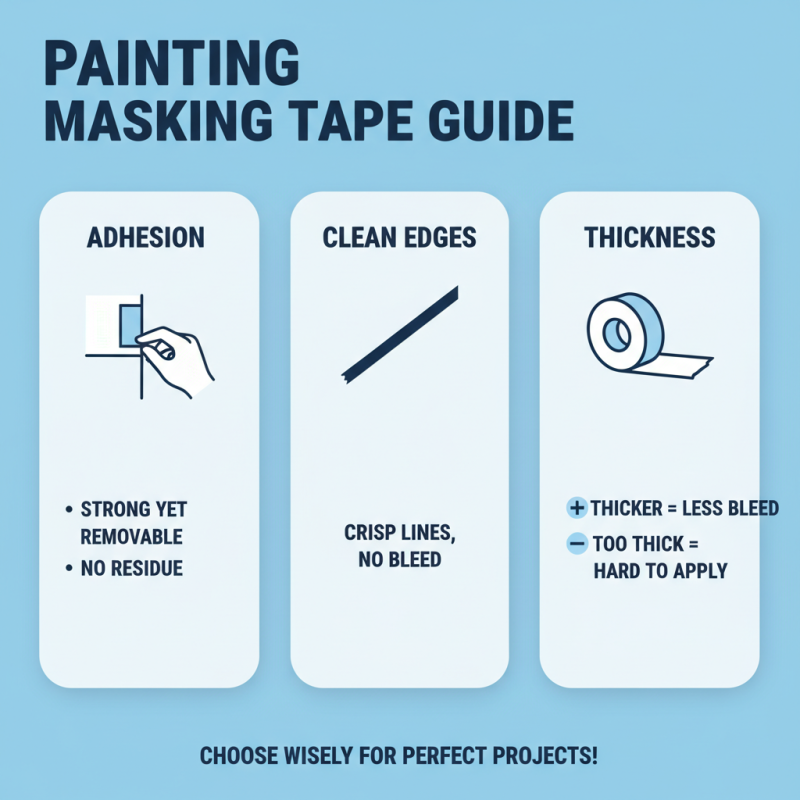
When choosing masking tape for painting, certain features stand out. Look for tapes with strong adhesive properties; they stick well but remove easily. A quality tape should leave clean edges without tearing. Thickness is important too. Thicker tapes often resist paint bleed, which can ruin a project. However, if too thick, they may be cumbersome to apply.
Another key aspect is the tape's flexibility. It should conform to curves and uneven surfaces. A stiff tape can result in gaps. Lastly, consider the tape's durability. It should hold up over time but also not damage the paint underneath upon removal. While many find their perfect tape on the first try, others may end up with disappointing results. This requires testing different options before settling on the ideal choice.
Tips for Proper Application of Masking Tape for Clean Lines
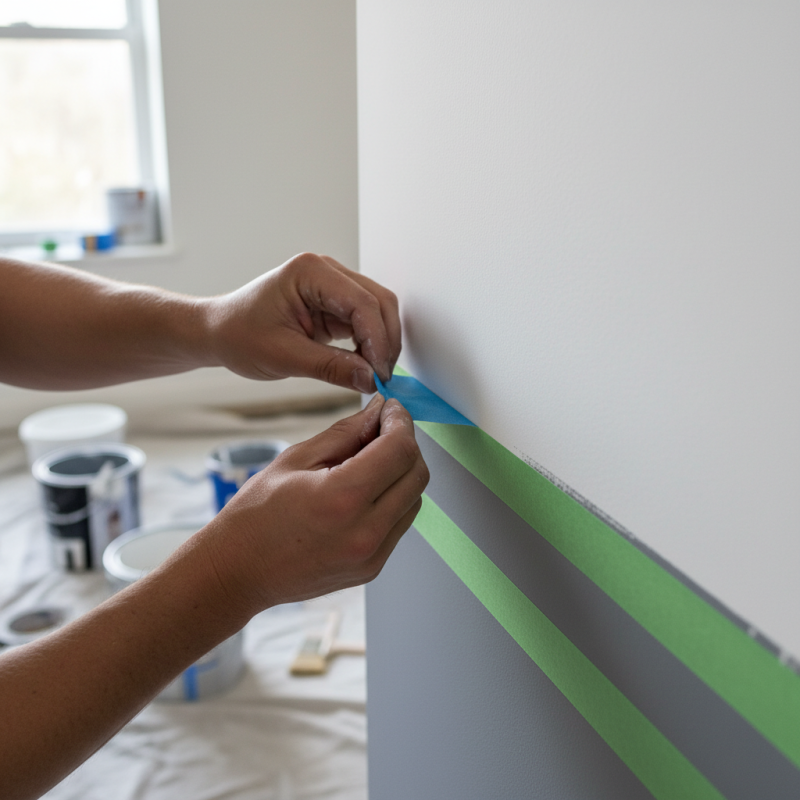
Proper application of masking tape is crucial for achieving clean lines in painting. To start, ensure the surface is clean and dry. Dust or oil can undermine adhesion. Research shows that over 30% of paint jobs suffer from poor tape application, leading to uneven lines.
When applying tape, press down firmly on the edges. This step prevents paint from seeping underneath. Use a putty knife or a similar tool for a smooth edge. A common mistake is not using enough pressure, resulting in paint bleed. For optimal results, consider applying paint within the tape's recommended timeframe.
Remove the tape while the paint is still slightly wet. In many cases, this allows for a cleaner finish. According to industry experts, waiting until the paint is fully dry can increase the chances of tearing. Rushing the removal can lead to frayed edges. Each step matters, and attention to detail can make a significant difference in the final outcome.
Best Painting Masking Tape for Clean Lines and Easy Removal
How to Safely Remove Masking Tape Without Damage to Surfaces
Removing masking tape can be tricky. To avoid damage, follow a few simple steps. Begin by waiting for the paint to dry completely but not too long. A good rule is to remove the tape within a few hours after painting. This timing helps reduce the chance of tearing.
Gently lift one corner of the tape. Pull it back slowly at a 45-degree angle. If you pull too fast, you might lift the paint with it. If you encounter resistance, pause and use a utility knife. Carefully score the edge where the tape meets the paint. This may seem tedious, but it’s worth it for clean lines.
After removing the tape, check for any imperfections. Sometimes, paint will bleed through. If it does, a small touch-up brush can correct the mistake. Don’t rush this process. Take a moment to admire your work, but also reflect on areas for improvement. Each project teaches you something new.