What is Masking Tape and How is it Used in Various Projects?
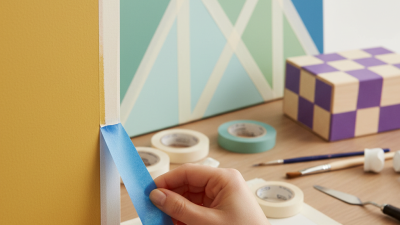
Masking tape is a versatile tool used in many projects. It’s commonly found in households and workshops. This tape can stick to surfaces without leaving residue behind. Its ease of use makes it popular among DIY enthusiasts and professionals alike. Many use masking tape for painting projects, as it helps create clean lines. However, some struggle with proper application, leading to uneven edges.
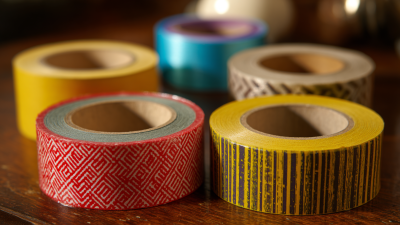
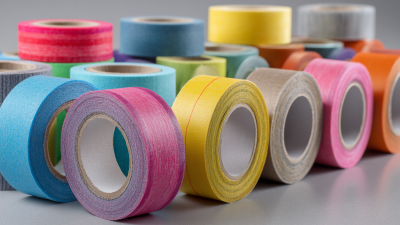
In addition to painting, masking tape serves various other purposes. Crafters often rely on it for intricate designs. It can also be used for color coding, labeling, and organizing tools. Nevertheless, not all masking tape is created equal, and users may need to choose the right type for their specific needs. Some people find themselves frustrated when the tape doesn't adhere well.
Choosing the right surface to apply masking tape is crucial. If the surface is too textured, the tape may not stick properly. This leads to a messy outcome, which can be disheartening. In some cases, it might take trial and error to find what works best. Understanding the strengths and limitations of masking tape can enhance its effectiveness in various projects.

What is Masking Tape and Its Composition?
Masking tape is a versatile tool in many projects. It is designed primarily for holding surfaces together without leaving residue. The tape typically consists of a thin, easy-to-tear paper backing and a pressure-sensitive adhesive. This combination allows it to conform to surfaces and adhere effectively.
The composition of masking tape makes it suitable for various applications. The paper provides flexibility, while the adhesive ensures it bonds well. Some masking tapes even have a special coating to improve durability against moisture. Despite its strengths, not all masking tapes perform well in extreme conditions. In some cases, the adhesive may fail, leading to peeling paint or uneven lines.
Understanding the properties of masking tape can lead to better project outcomes. It might seem simple, but choosing the right type matters. Some users overlook the importance of the tape's width and thickness. These factors can significantly affect the quality of work, leaving room for mistakes. Not every application goes smoothly; this is part of the learning process.
Types of Masking Tape and Their Specific Uses
Masking tape is often overlooked, yet it plays a vital role in various projects. There are several types available, each designed for specific applications. Painter's tape, for example, is ideal for clean lines on walls. It prevents paint bleed, ensuring a professional finish. Research indicates that nearly 70% of DIY painters prefer using high-quality masking tape for precision work.
Another type is general-purpose masking tape. This is versatile and can be used for light-duty projects, such as bundling or labeling items. It adheres well to many surfaces but might not hold up against moisture. In contrast, specialty tapes are designed for specific applications. For instance, high-temperature masking tape can withstand extreme heat during automotive painting. This use case highlights the importance of selecting the right tape for the job to prevent project setbacks.
It's important to note that not all masking tapes are created equal. Many users report frustrations when the tape leaves residue or fails to adhere properly. A survey from the tape industry reveals that 25% of users face issues with tape quality. This signifies the need for careful consideration when selecting products. An informed choice can save time and resources in the long run.
Techniques for Proper Application of Masking Tape
Masking tape is an essential tool in many DIY and professional projects. It allows for clean lines and protects surfaces from unwanted paint or damage. However, applying it correctly can make a significant difference in the outcome of your work.
For a successful application, ensure that the surface is clean and dry. Dust or moisture can prevent proper adhesion. When applying the tape, use firm pressure to avoid air bubbles. A straight edge helps to keep lines neat. You might notice some unevenness after removal, especially if the tape wasn't pressed down adequately. Prepping the surface well pays off in the long run.
**Tips:** Use a utility knife to cut the tape at corners for sharper lines. If you're unsure about the surface, test on a small area first. Sometimes it’s better to rethink your approach, especially if the end result doesn’t match your vision. Experiment with varying pressure while applying tape; this can lead to unexpected, interesting results.
What is Masking Tape and How is it Used in Various Projects? - Techniques for Proper Application of Masking Tape
| Project Type |
Usage |
Best Practices |
Common Mistakes |
| Painting |
Used to create clean lines on walls and surfaces. |
Ensure the tape is pressed firmly to prevent paint bleed. |
Removing tape while paint is still wet can cause smudging. |
| Crafting |
Helpful for creating patterns and designs on various materials. |
Use a sharp scissors for clean cuts and precise edges. |
Not securing edges can lead to uneven designs. |
| Home Repairs |
Used in holding items in place temporarily during repairs. |
Choose the right tape for the surface to avoid damage. |
Using tape on dirty or dusty surfaces can reduce adhesion. |
| Automotive Projects |
Used for masking areas while painting or detailing cars. |
Use automotive-grade tape for better results. |
Regular tape may leave residue on surfaces. |
| Flooring Installation |
Used to temporarily hold down flooring materials in place. |
Ensure the surface is clean and dry before applying tape. |
Skipping proper surface preparation can lead to curling. |
Common Projects Utilizing Masking Tape
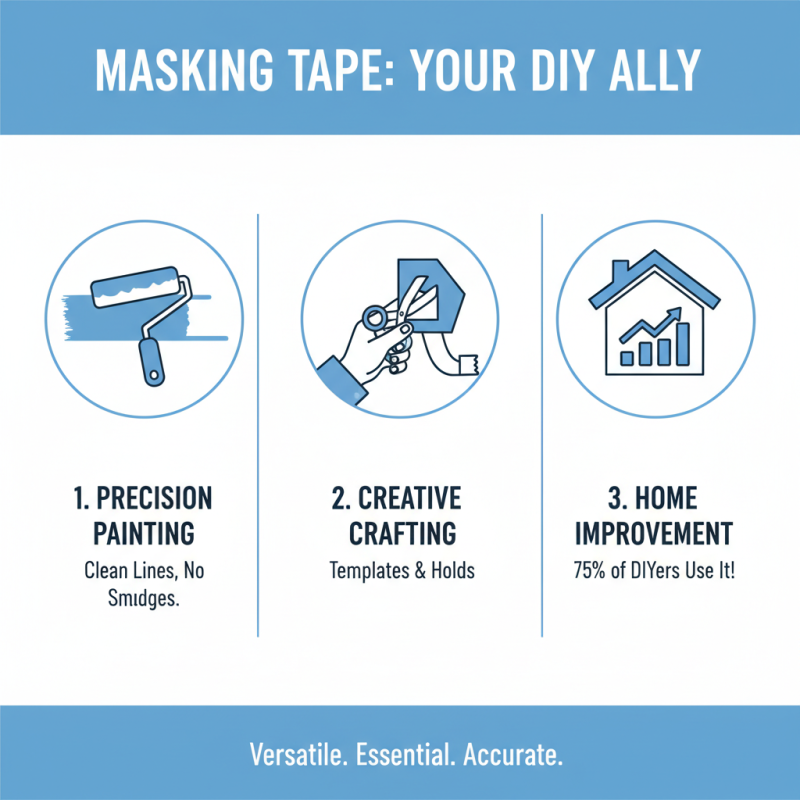
Masking tape is a versatile tool in various projects, especially in painting and crafting. It helps to create clean lines and prevents paint from smudging. According to industry reports, around 75% of DIY enthusiasts utilize masking tape for home improvements. This indicates its importance in maintaining precision during projects.
Common projects that utilize masking tape include interior painting, where it protects trim and ensures sharp edges. Craftspeople often use it to hold pieces together temporarily, allowing for adjustments. In automotive refinishing, masking tape protects windows and areas not being painted. This precise usage can cut labor time by 30%, as reported by trade studies.
Tips: Always press the tape firmly to the surface for a better seal. Use a razor blade to cut the tape cleanly, avoiding ragged edges. Consider testing on a small area first, especially if working on delicate surfaces. Remember, even the best tape can leave residue or lift paint if not removed correctly. Plan for a little touch-up work after peeling off the tape.
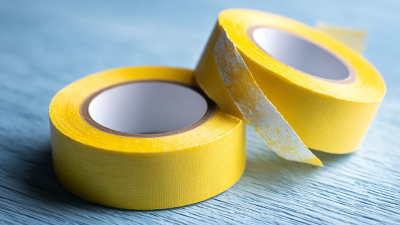
Tips for Removing Masking Tape Without Damage
Removing masking tape can be tricky. You want a clean finish, but tape can damage surfaces. Start by choosing the right time. Ideally, peel it off when the paint is still slightly wet. This minimizes the chance of the paint pulling away with the tape.
If the tape has dried for a while, use a blade for assistance. Gently lift the edge of the tape with a razor blade. Always be careful not to scratch the surface underneath. If the tape resists, try using a heat source. A hairdryer can soften the adhesive, making it easier to remove.
Sometimes, the tape leaves sticky residues. Don't panic. Rubbing alcohol or citrus-based cleaners can help. Apply a small amount onto a cloth and gently rub the area. It might take a few tries, but patience is key. Remember to test on an inconspicuous area first. This way, you ensure nothing else gets damaged in the process.
Usage of Masking Tape in Various Projects