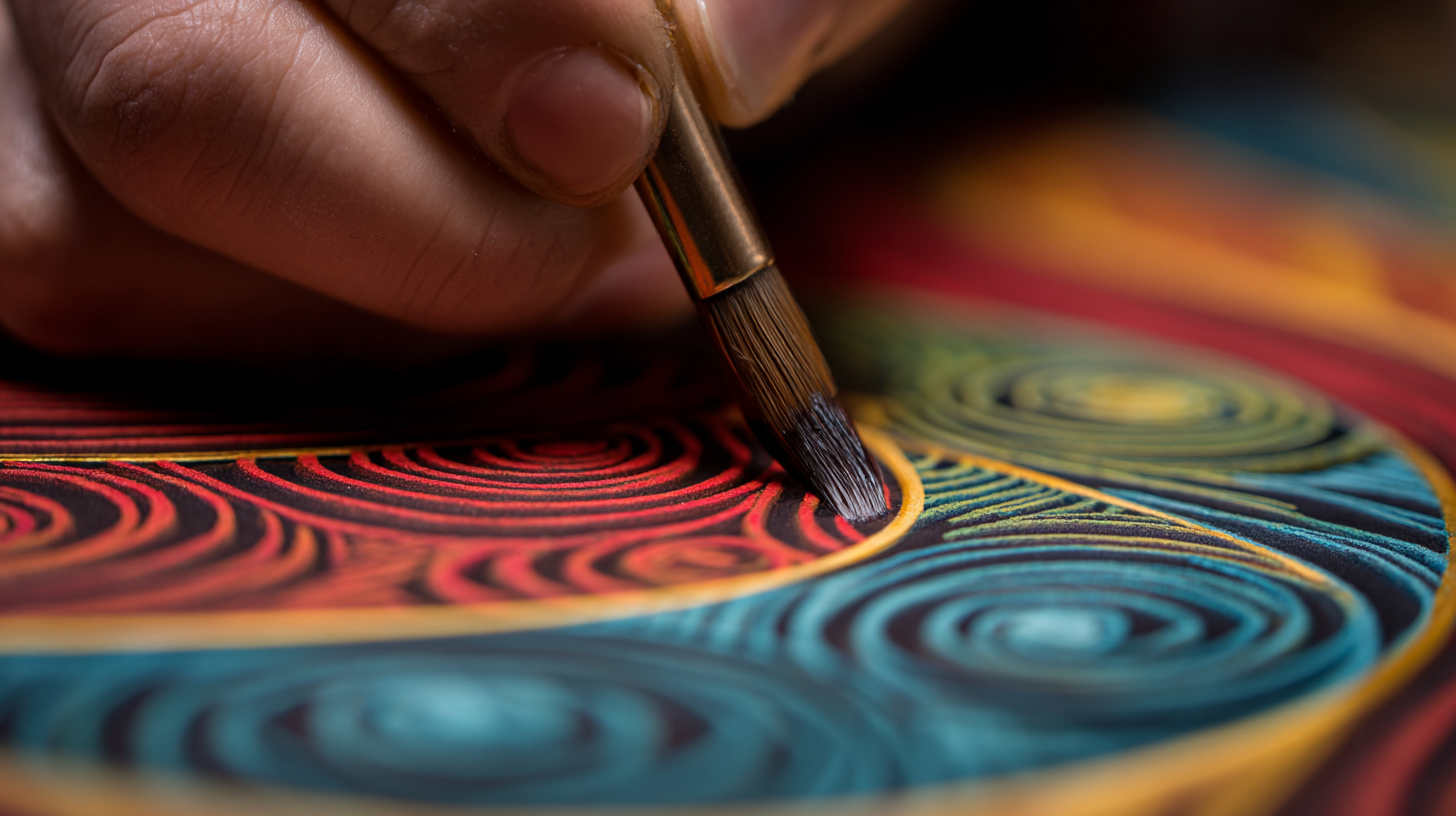
Mastering the Art of Precision: The Ultimate Guide to Using Painting Masking Tape Effectively
Painting Masking Tape is an essential tool for both amateur and professional painters seeking to achieve immaculate finishes on their projects. Understanding the various types of masking tape available and their specific applications is crucial for mastering the art of precision in painting.
This guide delves into the intricacies of using Painting Masking Tape effectively, exploring its unique properties, the best techniques for application, and common mistakes to avoid. Whether you're preparing for a large home renovation or a small craft project, knowing how to select the right tape can make all the difference in achieving sharp lines and flawless color separation.
Join us as we unveil valuable tips and tricks that will elevate your painting endeavors, ensuring that your work remains crisp and vibrant while minimizing clean-up time and effort.
Choosing the Right Type of Masking Tape for Your Project
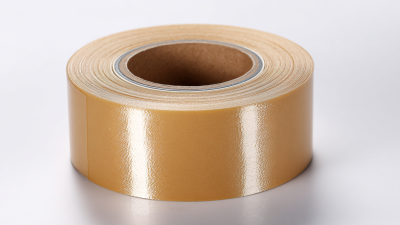
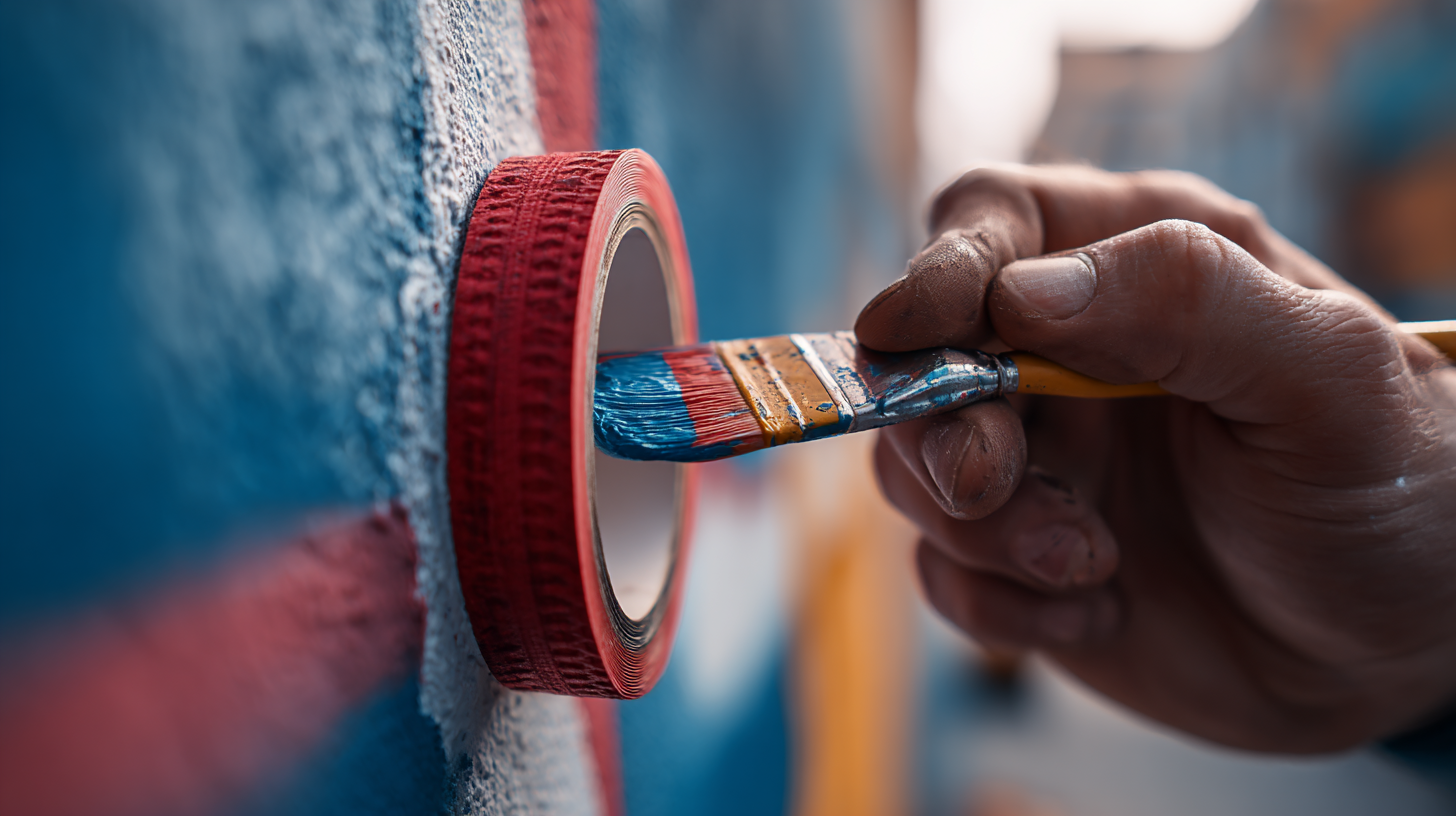
When embarking on a painting project, choosing the right type of masking tape can make all the difference. For various applications, it’s essential to understand the properties of different tapes available on the market. High-quality painter's tapes are designed with low-tack adhesives that prevent residue and tearing, making them ideal for creating crisp, clean lines. It's crucial to match the tape to the surface type—some tapes perform better on textured walls, while others can grip smooth surfaces effectively. According to industry reports, using the appropriate tape can enhance the final result of any artistic endeavor, ensuring a professional finish.
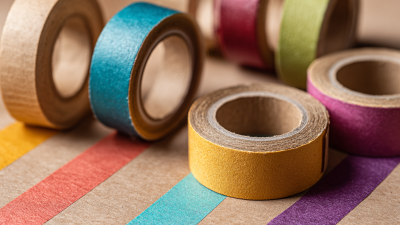
Tips: Always ensure that the surface is clean and dry before applying masking tape to achieve optimal adhesion. Testing the tape on a small, inconspicuous area can help determine its effectiveness on different surfaces. Additionally, for craft projects, consider using colored tapes to add an artistic flair while maintaining the integrity of your design. Certain tapes, such as low-tack varieties, are perfect for delicate tasks, ensuring that your artwork remains intact without damaging the underlying material.
In selecting masking tape for specific projects, it’s recommended to explore the variety of options available. From waterproof and acid-free options to colored and clear varieties, each type serves a unique purpose. Whether you're working on a large mural or small craft projects, the right masking tape can elevate your work, providing both precision and inspiration.
Preparing the Surface: Essential Steps Before Taping
Before you dive into the painting process, preparing the surface is crucial for achieving clean lines and a professional finish. Start by thoroughly cleaning the area you plan to tape. Remove dust, grease, and any loose paint that may interfere with adhesion. A damp cloth or a mild cleaner works wonders—just ensure the surface is completely dry before you proceed with taping.
Tips: When cleaning, use a lint-free cloth to prevent fibers from getting stuck on the surface. For stubborn stains, a gentle scrubbing with a sponge can prove effective without damaging the underlying surface.
Next, inspect the edges and corners of the surface where you'll apply the masking tape. If there are imperfections like chips or cracks, consider filling them in first. This step not only improves the overall appearance but also prevents paint bleed. Once the surface is prepped, run your hand over it to feel for any rough spots that might require sanding.
Tips: Use painter’s caulk to fill small gaps or joints before taping. This creates a barrier against paint seeping through and ensures sharper lines.
Techniques for Applying Masking Tape with Precision
When it comes to achieving clean and crisp lines in your painting projects, the application of masking tape is crucial. To begin with, always clean the surface where the tape will be applied. Dust and grease can prevent the tape from adhering properly, leading to paint bleed. For an extra measure, consider using painter's tape specifically designed for art projects, as it features a lower adhesion level that reduces the risk of surface damage upon removal.
Tips: Before applying the tape, use a straightedge or ruler to create reference lines for placement. This ensures that your tape is straight and evenly spaced. Additionally, burnishing the edges of the tape with a credit card or your fingernail can help seal the tape securely to the surface, minimizing the chances of paint seeping underneath.
When removing the masking tape, it's best to do so while the paint is still slightly wet. This technique helps in avoiding any peeling or chipping of the dried paint edges. If you've used multiple layers or colors, slightly pull the tape at a 45-degree angle to peel it away smoothly. Following these techniques will not only enhance the quality of your work but also elevate your overall painting experience.
Mastering the Art of Precision: The Ultimate Guide to Using Painting Masking Tape Effectively
| Technique |
Description |
Tips |
Applications |
| Straight Lines |
Using a ruler to create precise straight edges. |
Press down the tape firmly and use a sharp knife for cutting. |
Walls, furniture, and crafts. |
| Curved Lines |
Applying tape in a gentle arc for curves. |
Use low-tack tape and stretch slightly while applying. |
Decorative edges, rounding corners. |
| Layering |
Using multiple layers of tape for complex designs. |
Ensure each layer is dry before applying the next one. |
Multi-colored patterns and effects. |
| Sealing Edges |
Sealing the edges of the tape to prevent seepage. |
Run a credit card along the edge for a tight seal. |
Preventing paint bleed on trim and windows. |
| Removing Tape |
Proper removal technique to avoid damage. |
Peel off at a 45-degree angle slowly. |
Finalizing painted projects with clean edges. |
Removing Masking Tape: Tips for Clean Lines and No Residue
When it comes to achieving clean lines in painting, the proper removal of masking tape is crucial. A recent study by the National Paint and Coatings Association highlights that improper tape application or removal can lead to over 30% of wasted paint due to bleeding, resulting in not only unsatisfactory aesthetics but also increased costs. For best results, the tape should be removed when the paint is still slightly wet or after it has fully dried, depending on the type of tape used. This timing can significantly reduce the chances of tearing the paint or leaving behind any residue.
To ensure a flawless finish, consider using a sharp utility knife to score along the tape’s edge before removal. According to a report from the International Paint Manufacturers Association, precise cutting techniques can minimize damage to the paint beneath the tape, thereby preserving your hard work. Additionally, pulling the tape off at a 45-degree angle creates a cleaner edge and lessens the likelihood of paint chipping away. By applying these expert tips, painters can master the art of precision and enjoy perfectly crisp lines in their projects without the hassle of sticky residue or imperfections.
Common Mistakes to Avoid When Using Masking Tape
When using painting masking tape, it's crucial to sidestep common pitfalls that can compromise your project. One major mistake is applying tape on dirty or greasy surfaces. For the best adhesion, ensure that the area is clean and dry. If the surface is not properly prepped, the tape may not stick well, leading to paint bleed and uneven lines.
Another frequent error is not pressing the tape down firmly enough. If the edges of the tape are not sealed completely, paint can seep underneath, ruining a clean edge. To avoid this, use a flat tool to press the tape down securely, ensuring that it adheres tightly to the surface. Lastly, a common oversight is removing the tape too early. Patience is key; waiting until the paint is fully cured will yield crisp lines and a more professional finish. These simple adjustments can make a significant difference in the quality of your painted projects.