Leave Your Message
-
Phone
-
Email
-
Whatsapp

Small tape is an often-overlooked tool in the realm of home repairs and creative projects, yet its versatility is unparalleled. According to industry expert John Smith, "Small tape is the unsung hero of DIY projects—its ability to securely bond materials while remaining discreet makes it indispensable." With applications ranging from quick fixes around the house to enhancing art projects, small tape is a must-have for anyone looking to streamline their repair techniques and unleash their creativity.
Whether you're patching up a torn piece of paper, securing a loose cable, or adding a personal touch to your DIY crafts, small tape offers a simple solution with big impact. Its adhesive strength allows it to hold items together without the mess of glue, making it perfect for both temporary and permanent repairs. Moreover, the variety of colors and finishes available means that small tape can also serve as an aesthetic element in your projects, transforming the mundane into something visually captivating.
In this guide, we will explore various ways to effectively use small tape for everyday repairs and innovative creative endeavors. By harnessing the potential of this powerful tool, you can tackle home challenges with ease while ensuring that your projects shine with originality and flair.

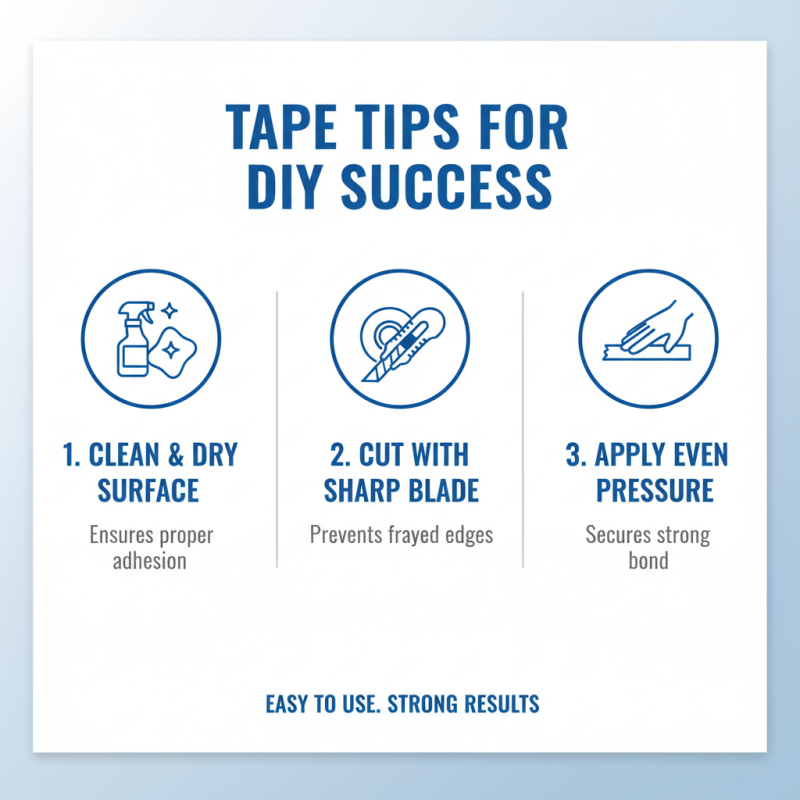
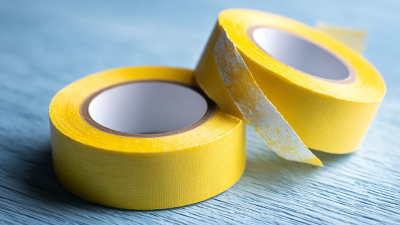
When selecting the right type of small tape for your home repairs and creative projects, it’s essential to consider the specific characteristics and purposes of different tapes. For basic repairs, such as mending torn items or securing loose components, clear adhesive tape or masking tape offers versatility and ease of use. These tapes are designed to adhere smoothly to surfaces and can be easily cut to size, making them ideal for quick fixes around the house.
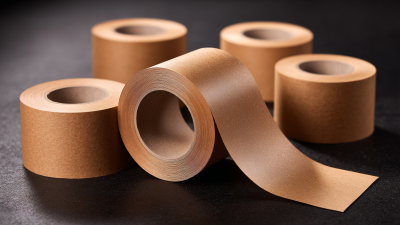
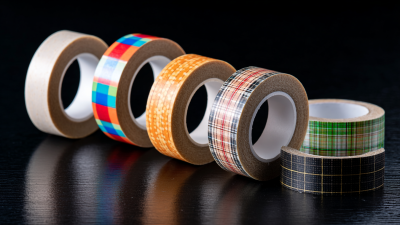
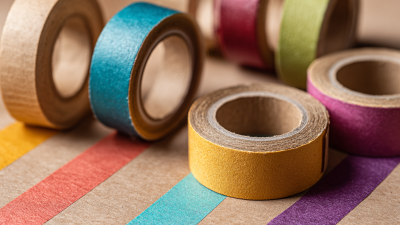
For more specialized applications, such as crafting or detailed projects, double-sided tape and washi tape can be excellent choices. Double-sided tape provides a strong bond without visible adhesive, which works well in projects where aesthetics are important. Washi tape, on the other hand, is decorative and comes in various colors and patterns, perfect for personalizing items or creating visual interest in art projects. By matching the type of tape with the intended purpose, you can achieve optimal results in both repairs and creative endeavors.
| Type of Tape | Best Uses | Dimensions | Features |
|---|---|---|---|
| Masking Tape | Painting, crafting, labeling | 0.5 in x 60 yd | Easy to remove, low adhesive |
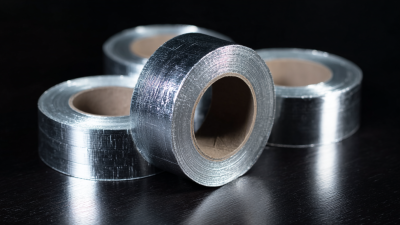
| Duct Tape | Repairs, securing items | 1 in x 30 yd | Strong, water-resistant |
| Double-Sided Tape | Mounting, bonding surfaces | 0.75 in x 15 yd | Transparent, high bond strength |
| Electrical Tape | Insulating electrical wires | 0.5 in x 20 ft | Flame-resistant, stretchable |
| Washi Tape | Decorative projects, scrapbooking | 0.6 in x 32 ft | Variety of designs, reusable |

 Small tape can be applied to a range of common household issues, from sealing up small cracks to holding materials in place during assembly.
 For creative applications like art projects or home decor, experimenting with layering different colors of small tape can
yield striking visual effects while adding a personal touch. By integrating such techniques into your home repair toolkit,
you can effectively tackle both practical and creative endeavors.
For creative applications like art projects or home decor, experimenting with layering different colors of small tape can
yield striking visual effects while adding a personal touch. By integrating such techniques into your home repair toolkit,
you can effectively tackle both practical and creative endeavors.